Hey there, sunshine! ☀️
Ivy here, and today I’m absolutely thrilled to share one of my all-time favorite mocktail recipes that never fails to bring a touch of elegance to any occasion.
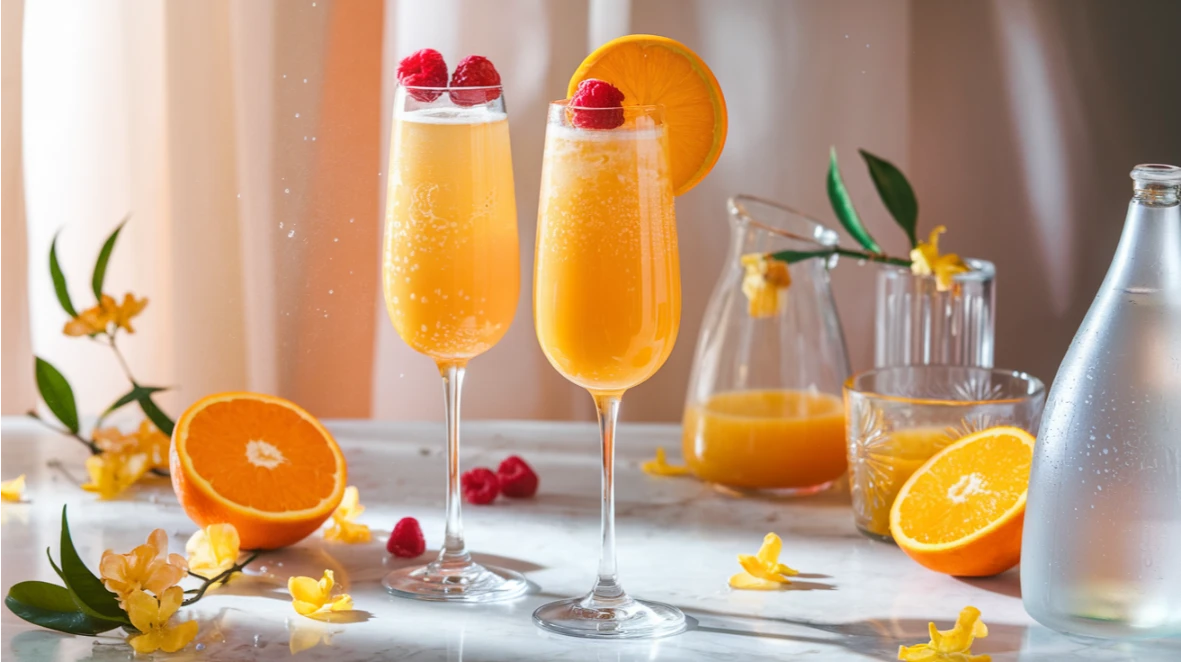
If you’ve been searching for the perfect Mimosa Mocktail, a non-alcoholic twist on the classic brunch favorite, you’re in for a treat!
The magic of a mimosa mocktail lies in its crisp, bubbly sparkles paired with fresh, sweet citrus—it’s the ultimate celebration drink! Hosting a romantic brunch for two? This recipe is your perfect match. Even for life’s little moments, this bubbly treat is always a star.
Why You’ll Love This Delicious Mimosa Mocktail Recipe
Let’s be honest – there’s nothing quite like starting your day with something that feels fancy yet won’t leave you needing a nap by noon! This non-alcoholic mimosa is:
• Light and refreshing
• Perfectly balanced between sweet and tangy
• Absolutely gorgeous in the glass
• Super easy to customize
• Perfect for any celebration, especially romantic brunches!
Moreover, it’s a fantastic way to feel included in celebrations while staying alcohol-free.
Health Benefits of a Virgin Mimosa Mocktail
Before we dive into the recipe, let’s take a moment to appreciate how this mocktail isn’t just pretty.. It’s actually packed with some amazing benefits!
• Vitamin C boost from fresh orange juice
• Hydrating properties
• Natural energy from fruit sugars
• Antioxidant-rich ingredients
• Zero alcohol means better sleep and clearer mornings!
Essential Ingredients for Your Perfect Mimosa Mocktail
The Base:
• Fresh-squeezed orange juice (trust me, it makes ALL the difference!)
Professional Citrus Juicer
The Bubbles:
• Sparkling water or alcohol-free sparkling wine
• Non-alcoholic prosecco (optional but amazing!)
Premium Sparkling Water
The Extras:
• Fresh fruit for garnish
• Ice (optional)
• Natural sweetener (if needed)
Organic Agave Nectar
How to Craft the Perfect Mimosa Mocktail
1. Prep Your Space (2 minutes)
• Chill all ingredients thoroughly
• Gather your tools and glassware
2. Mix the Magic (3 minutes)
• Fill champagne flutes 1/3 full with fresh orange juice
• Slowly top with sparkling water at a slight angle
• Gently stir once with a long spoon
3. Garnish (1 minute)
• Add a fresh orange slice
• Optional: float a few fresh berries
• For extra fancy: add an edible flower
Variations to Keep Things Exciting
1. Berry Bliss Mimosa
• Add a splash of strawberry puree
• Top with sparkling water
• Garnish with fresh berries
2. Tropical Sunrise
• Mix orange juice with a touch of coconut water
• Add sparkling water
• Garnish with pineapple
3. Rosemary Citrus
• Infuse your orange juice with fresh rosemary
• Add sparkling water
• Garnish with a rosemary sprig
Pro Tips from Ivy’s Kitchen
💡 Always pour sparkling water slowly to maintain maximum fizz
💡 To achieve the best flavor, always use freshly squeezed juice whenever possible.
💡 Chill ingredients separately
💡 Prepare garnishes in advance
Glass Pitcher with Infuser
Frequently Asked Questions
Q: Can I make this ahead of time?
A: You can prep the juice ahead; however, when it comes to serving, make sure to add the bubbles right before to keep them fresh and fizzy.
Q: How long will it stay fizzy?
A: Best enjoyed within 15-20 minutes of mixing.
Q: Can I use store-bought orange juice?
A: Yes, you can, but keep in mind that fresh-squeezed juice always delivers the best flavor and freshness.
And there you have it, my lovely readers! A perfectly balanced, absolutely delightful mimosa mocktail that’s sure to bring a touch of magic to your next brunch or celebration. I’d love to hear how yours turned out – drop a comment below or tag me in your creations on Instagram!
So, until next time, keep sparkling and spreading joy! ✨
Love,
Ivy Summers
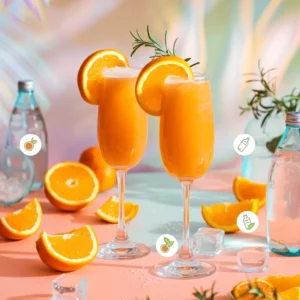
The Perfect Mimosa Mocktail
Ingredients
- 1 cup fresh orange juice
- 1 cup sparkling water
- Orange slices for garnish
- Ice optional
Instructions
- Chill all ingredients thoroughly
- Fill glasses 1/3 full with orange juice
- Top slowly with sparkling water
- Garnish and serve immediately
Notes
• Can be customized with different fruit juices
• Store ingredients separately until ready to serve

